
Android 碎片过渡
 Android 碎片(Fragment)
Lollipop (Android 5.0) 中的活动和碎片过渡建立在一些相对新的 Android 特性上,叫做 过渡。在 KitKat 中引入,过渡框架提供了一系列方便的 API 来在应用程序的不同的 UI 状态间 提供动画。这个框架围绕两个关键概念构建:场景和过渡。场景定义了应用程序 UI 给定的状态,过渡则定义了两个场景间的动画变化。
当一个场景变化,过渡有两个主要职责:
捕获开始和结束场景中每个视图的状态
创建一个动画绘制者 (Animator),基于从一个场景到另一个场景需要动画的视图的不同。
实例
这个实例解释如何使用碎片过渡来创建自定义的动画。让我们按照下面的步骤开始:
| 步骤 | 描述 |
|---|---|
| 1 | 使用 Android Studio 来创建 Android 应用程序,命名为 Fragment Custom Animation,包名为 com.bootwiki.fragmentcustomanimation. |
| 2 | 修改 res/layout/activity_main.xml 文件,添加一个 TextView |
| 3 | 在 res/layout/ 下创建 fragment_stack.xml 的布局文件,定义碎片标签和按钮标签 |
| 4 | 在 res/ 下建立子目录 anim,并添加 fragment_slide_left.xml, fragment_slide_left_exit.xml, fragment_slide_right_exit.xml 和 fragment_slide_left_enter.xml |
| 5 | 在 MainActivity.java 中需要添加碎片栈,碎片管理器和 onCreateView() |
| 6 | 启动Android模拟器来运行应用程序,并验证应用程序所做改变的结果。 |
以下是 res/layout/activity_main.xml 文件的内容,其包含帧布局和按钮。
<?xml version="1.0" encoding="utf-8"?>
<LinearLayout
    xmlns:android="http://schemas.android.com/apk/res/android"
    android:layout_width="match_parent"
    android:layout_height="match_parent"
    android:orientation="vertical" >

    <FrameLayout
        android:id="@+id/fragment1"
        android:layout_width="match_parent"
        android:layout_height="0dp"
        android:layout_weight="1" />

    <Button
        android:id="@+id/new_fragment"
        android:layout_width="wrap_content"
        android:layout_height="wrap_content"
        android:text="添加新碎片" />

</LinearLayout>
以下是 res/anim/fragment_stack.xml 文件:
<?xml version="1.0" encoding="utf-8"?>
<LinearLayout xmlns:android="http://schemas.android.com/apk/res/android"
    android:orientation="vertical" android:layout_width="match_parent"
    android:layout_height="match_parent">
    <TextView
        android:id="@+id/text"
        android:layout_width="match_parent"
        android:layout_height="match_parent"
        android:gravity="center"/>
</LinearLayout>
以下是 res/animator/fragment_slide_left_enter.xml 文件的内容,其包含设置方法和动画绘制者对象标签。
<?xml version="1.0" encoding="utf-8"?>
<set xmlns:android="http://schemas.android.com/apk/res/android">
    <objectAnimator
        android:interpolator="@android:interpolator/decelerate_quint"
        android:valueFrom="100dp" android:valueTo="0dp"
        android:valueType="floatType"
        android:propertyName="translationX"
        android:duration="@android:integer/config_mediumAnimTime" />

    <objectAnimator
        android:interpolator="@android:interpolator/decelerate_quint"
        android:valueFrom="0.0" android:valueTo="1.0"
        android:valueType="floatType"
        android:propertyName="alpha"
        android:duration="@android:integer/config_mediumAnimTime" />
</set>
以下是 res/animator/fragment_slide_left_exit.xml 文件的内容,其包含设置方法和动画绘制者对象标签。
<?xml version="1.0" encoding="utf-8"?>
<set xmlns:android="http://schemas.android.com/apk/res/android">
    <objectAnimator
        android:interpolator="@android:interpolator/decelerate_quint"
        android:valueFrom="0dp" android:valueTo="-100dp"
        android:valueType="floatType"
        android:propertyName="translationX"
        android:duration="@android:integer/config_mediumAnimTime" />

    <objectAnimator
        android:interpolator="@android:interpolator/decelerate_quint"
        android:valueFrom="1.0" android:valueTo="0.0"
        android:valueType="floatType"
        android:propertyName="alpha"
        android:duration="@android:integer/config_mediumAnimTime" />
</set>
以下是 res/animator/fragment_slide_right_enter.xml 文件的内容,其包含设置方法和动画绘制者对象标签。
<?xml version="1.0" encoding="utf-8"?>
<set xmlns:android="http://schemas.android.com/apk/res/android">
    <objectAnimator
        android:interpolator="@android:interpolator/decelerate_quint"
        android:valueFrom="-100dp" android:valueTo="0dp"
        android:valueType="floatType"
        android:propertyName="translationX"
        android:duration="@android:integer/config_mediumAnimTime" />

    <objectAnimator
        android:interpolator="@android:interpolator/decelerate_quint"
        android:valueFrom="0.0" android:valueTo="1.0"
        android:valueType="floatType"
        android:propertyName="alpha"
        android:duration="@android:integer/config_mediumAnimTime" />
</set>
以下是 res/animator/fragment_slide_right_exit.xml 文件的内容,其包含设置方法和动画绘制者对象标签。
<?xml version="1.0" encoding="utf-8"?>
<set xmlns:android="http://schemas.android.com/apk/res/android">
    <objectAnimator
        android:interpolator="@android:interpolator/decelerate_quint"
        android:valueFrom="0dp" android:valueTo="100dp"
        android:valueType="floatType"
        android:propertyName="translationX"
        android:duration="@android:integer/config_mediumAnimTime" />

    <objectAnimator
        android:interpolator="@android:interpolator/decelerate_quint"
        android:valueFrom="1.0" android:valueTo="0.0"
        android:valueType="floatType"
        android:propertyName="alpha"
        android:duration="@android:integer/config_mediumAnimTime" />
</set>
以下是 src/com.bootwiki.fragmentcustomanimation/MainActivity.java 文件的内容,包含按钮监听器,CountingFragment 和 onCreateView():
package com.bootwiki.fragmentcustomanimation;

import android.app.Activity;
import android.app.Fragment;
import android.app.FragmentTransaction;
import android.os.Bundle;

import android.view.LayoutInflater;
import android.view.View;
import android.view.View.OnClickListener;
import android.view.ViewGroup;

import android.widget.Button;
import android.widget.TextView;

/**
 * 演示在碎片事务中使用自定义动画.
 */
public class MainActivity extends Activity {
    int mStackLevel = 1;

    @Override
    protected void onCreate(Bundle savedInstanceState) {
        super.onCreate(savedInstanceState);
        setContentView(R.layout.activity_main);

        Button button = (Button)findViewById(R.id.new_fragment);

        button.setOnClickListener(new OnClickListener() {
            public void onClick(View v) {
                addFragmentToStack();
            }
        });

        if (savedInstanceState == null) {
            // 添加初始碎片
            Fragment newFragment = CountingFragment.newInstance(mStackLevel);
            FragmentTransaction ft = getFragmentManager().beginTransaction();
            ft.add(R.id.fragment1, newFragment).commit();
        }
        else
        {
            mStackLevel = savedInstanceState.getInt("level");
        }
    }

    @Override
    public void onSaveInstanceState(Bundle outState) {
        super.onSaveInstanceState(outState);
        outState.putInt("level", mStackLevel);
    }

    void addFragmentToStack() {
        mStackLevel++;

        // 实例化新的碎片
        Fragment newFragment = CountingFragment.newInstance(mStackLevel);

        // 添加碎片到活动,并将其放入后退栈中
        FragmentTransaction ft = getFragmentManager().beginTransaction();
        ft.setCustomAnimations(R.animator.fragment_slide_left_enter,
                R.animator.fragment_slide_left_exit,
                R.animator.fragment_slide_right_enter,
                R.animator.fragment_slide_right_exit);
        ft.replace(R.id.fragment1, newFragment);
        ft.addToBackStack(null);
        ft.commit();
    }

    public static class CountingFragment extends Fragment {
        int mNum;
        /**
         * 创建CountingFragment的实例,提供"num"作为参数
         */
        static CountingFragment newInstance(int num) {
            CountingFragment f = new CountingFragment();

            Bundle args = new Bundle();
            args.putInt("num", num);
            f.setArguments(args);
            return f;
        }

        /**
         * 在创建时,获取实例的number参数.
         */
        @Override
        public void onCreate(Bundle savedInstanceState) {
            super.onCreate(savedInstanceState);
            mNum = getArguments() != null ? getArguments().getInt("num") : 1;
        }
        /**
         * 碎片的界面仅包含一个TextView,用于显示number
         */
        @Override
        public View onCreateView(LayoutInflater inflater, ViewGroup container,Bundle savedInstanceState) {
            View v = inflater.inflate(R.layout.fragment_stack, container, false);
            View tv = v.findViewById(R.id.text);
            ((TextView)tv).setText("Fragment #" + mNum);
            tv.setBackgroundDrawable(getResources().getDrawable(android.R.drawable.gallery_thumb));
            return v;
        }
    }
}
以下是 AndroidManifest.xml 文件的内容:
<?xml version="1.0" encoding="utf-8"?>
<manifest xmlns:android="http://schemas.android.com/apk/res/android"
    package="com.bootwiki.fragmentcustomanimation"
    android:versionCode="1"
    android:versionName="1.0" >

    <application
        android:allowBackup="true"
        android:icon="@drawable/ic_launcher"
        android:label="@string/app_name"
        android:theme="@style/AppTheme" >

        <activity
            android:name=".MainActivity"
            android:label="@string/app_name" >

            <intent-filter>
                <action android:name="android.intent.action.MAIN" />
                <category android:name="android.intent.category.LAUNCHER" />
            </intent-filter>

        </activity>

    </application>
</manifest>
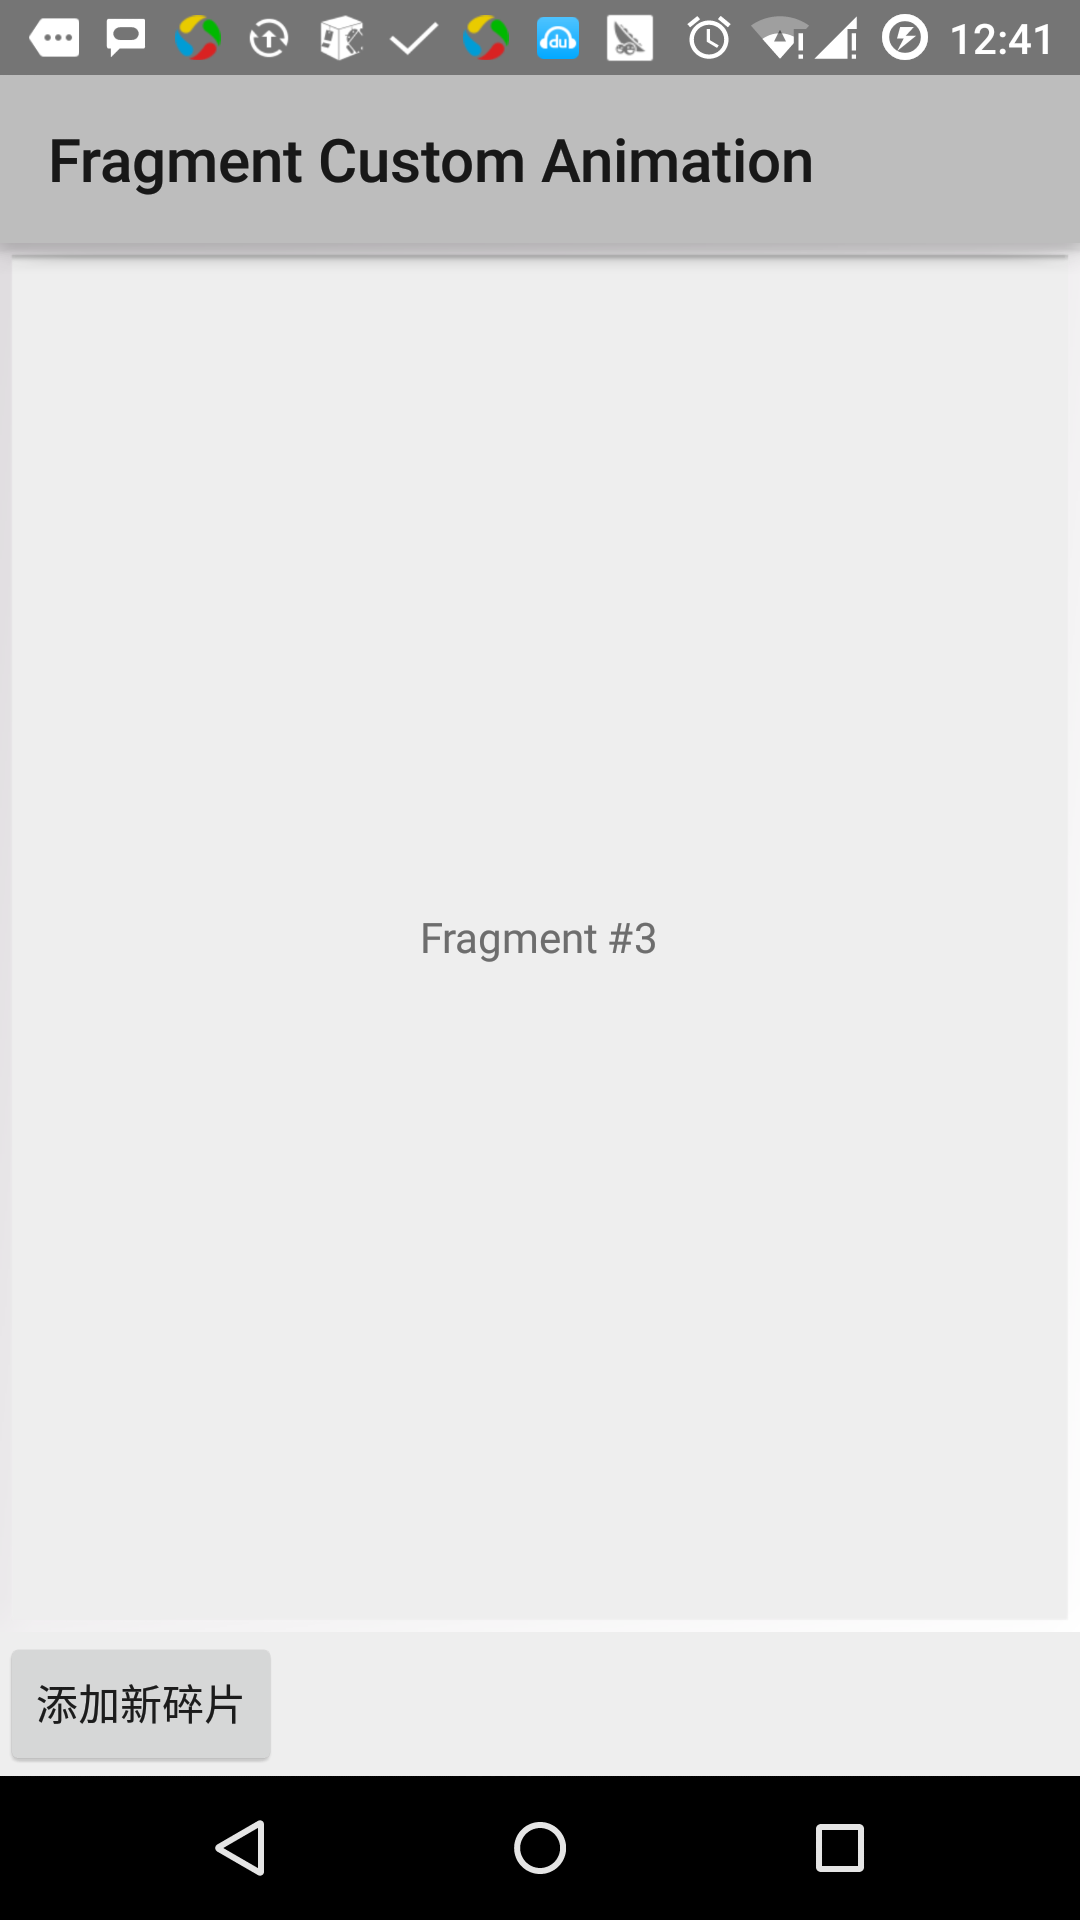
让我们运行刚刚修改的 Fragment Custom Animation 应用程序。我假设你已经在安装环境时创建了 AVD。打开你的项目中的活动文件,点击工具栏中的 图标来在 Android Studio 中运行应用程序。Android Studio 在 AVD 上安装应用程序并启动它。如果一切顺利,将在模拟器窗口上显示如下: